#25: It works! (4/3-11)
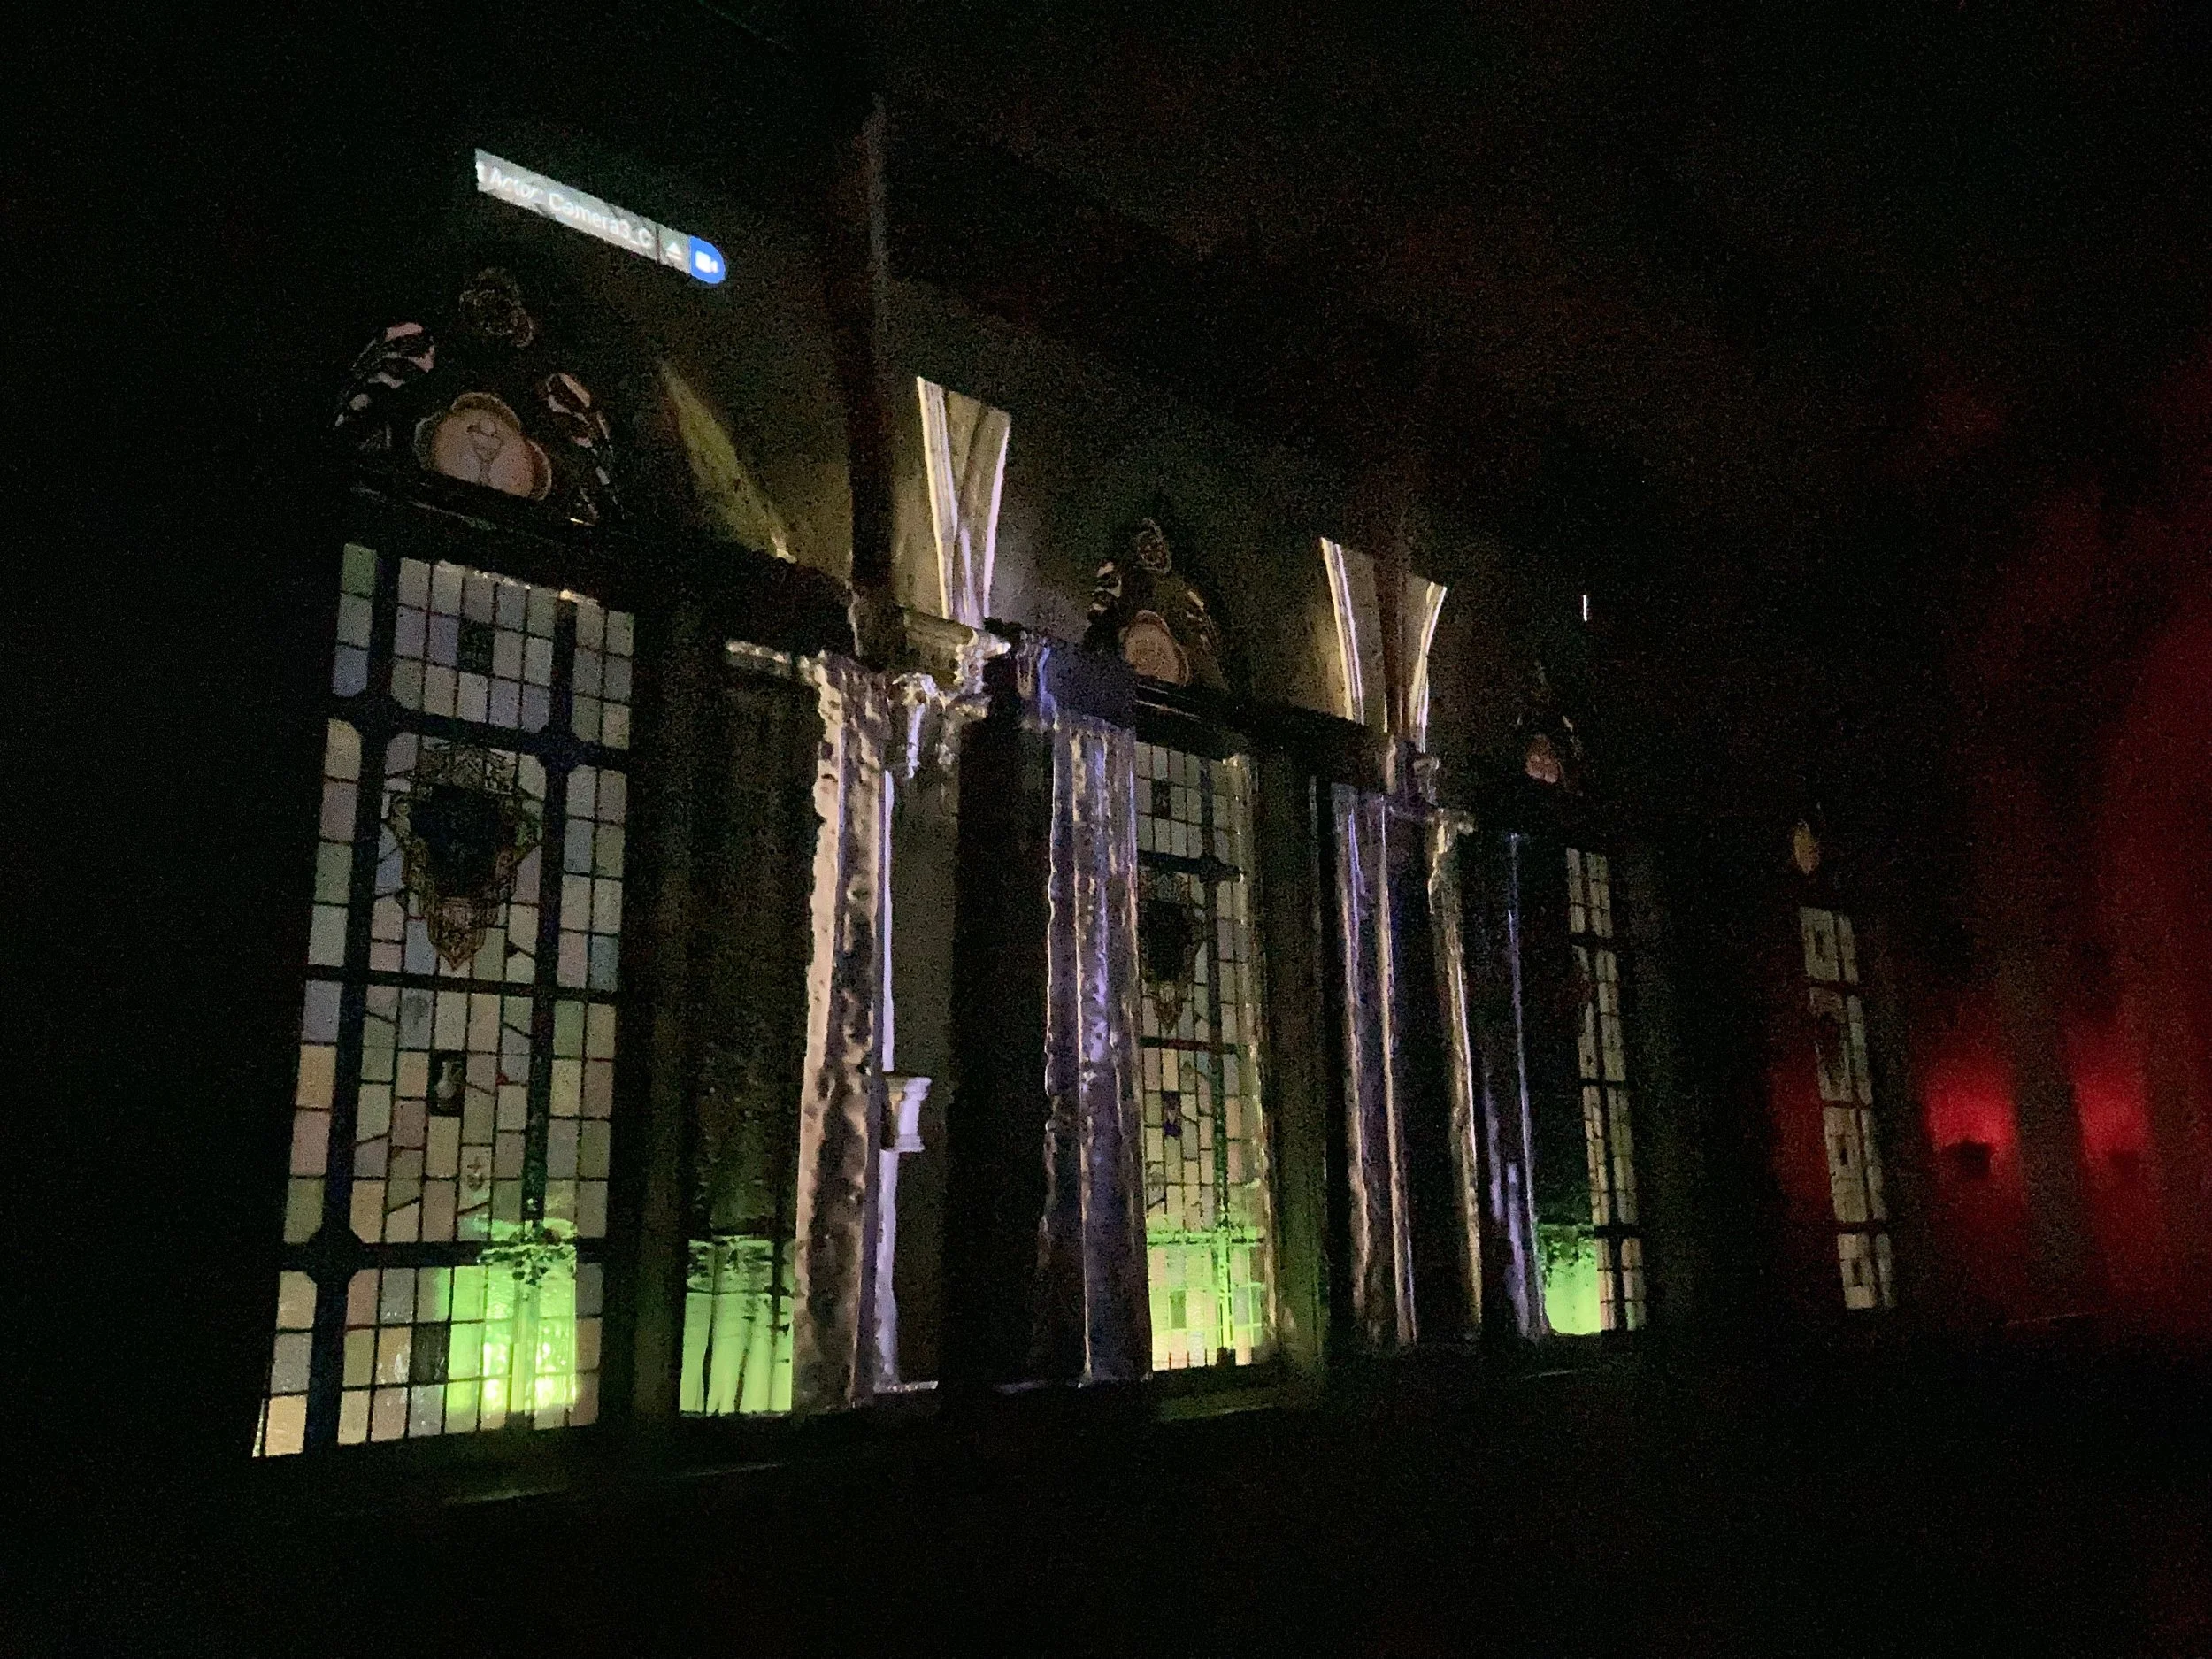
It works! I’ve done a night of projection mapping in Brooks concert hall, and while it took a few tries to get everything properly lined up, it all did.


I went in just before sunset, spent some time clearing the space, getting the tables out and setting the projectors up. The calibration patch was super useful to get the projector perpendicular to the wall and horizontal (the floor, it turns out, is not perfectly level).


After a few tries to match the right vertical angle and FOV, it became clear that, due to the lens-shift in the projector, the scale of the image on the wall was off in one direction. I couldn’t stretch the image in the camera and didn’t want to rescale the model again, so instead used the projector’s keystone & cheated a bit with the camera’s height & vertical angle. The keystone was fairly straightforward to adjust. When I set the camera to the distance, zoom and angle that it should be, the vertical lines of the image were not all vertical on the wall – they key stoned out at the top. I adjusted the projector’s keystone until they lined up, which left me with an image that was unskewed, aligned with the wall at the bottom of the windows, but also too tall. So I shifted the camera’s z-position higher and vertical angle lower until the distance between the easily-identifiable bottom-of-the-windows and easily-identifiable curtain rods lined up.
Similarly, eliminating the computer’s & unreal’s UI to match the camera’s FOV with the projector’s zoom was a little messy, but perfectly straightforward – I punched in with the projector’s digital zoom until it roughly lined up with the camera frame in the unreal viewport (particularly the bottom edge of the frame), noted the adjustments, and fine-tuned the camera FOV in unreal to match.
Both of these do have an image quality cost and would be ideal to do either in Unreal or using a video-processing engine in between Unreal and the projector, but the important thing is that it worked, and worked well. Even fine architectural details lined up perfectly, and once it’s all there (and the sun set and my eyes adjusted to the dark), playing around with the image was just fun.


The next step is to set this all up once again (hopefully much quicker now), do it again again with a second projector to map the whole wall, create a handful of lighting looks, and stage and take a couple photos showing the “lit” space.