#16 First Scans
At this point I did several test scans with a couple possible apps, found one that I’m reasonably happy with, and have made a couple of scans of the venue!
This video was a great resource, offering a comparison of several apps from an architectural projection mapping perspective. Specifically, it wound up suggesting Kiri, WIDAR, and Pix4D Catch. So far I’ve tried out Kiri and an app I’d already had some experience with, Polycam. Polycam never gave me a good result, but Kiri’s been surprisingly effective.
This video also offers a comparison of LiDAR and Photogrammetry, and leads me to the conclusion that photogrammetry will likely yield better results than LiDAR. I’d certainly give LiDAR a try if I had a device handy, but by both this and the above account, I don’t think it’s worth the time to track down and borrow a LiDAR phone.
I did some test scans last week using the in-progress set of Oklahoma! (The Holy Cross Theatre Dept. show that I’ve just finished a lighting design for). The one with Kiri came out surprisingly well, and so I decided to move forward with it. I’ve paid for a month’s worth of the “pro” subscription, which increases the number of photos that I can use in a single scan, and have done two scans with it of the hall itself


The first set of scans had some noticeable quality issues, but came out surprisingly well all things considered. The surfaces themselves were rough and it lost a ton of detail in the ceiling vaults, the cornices, and the wall sconces between the curtains. Not bad, but not great either.
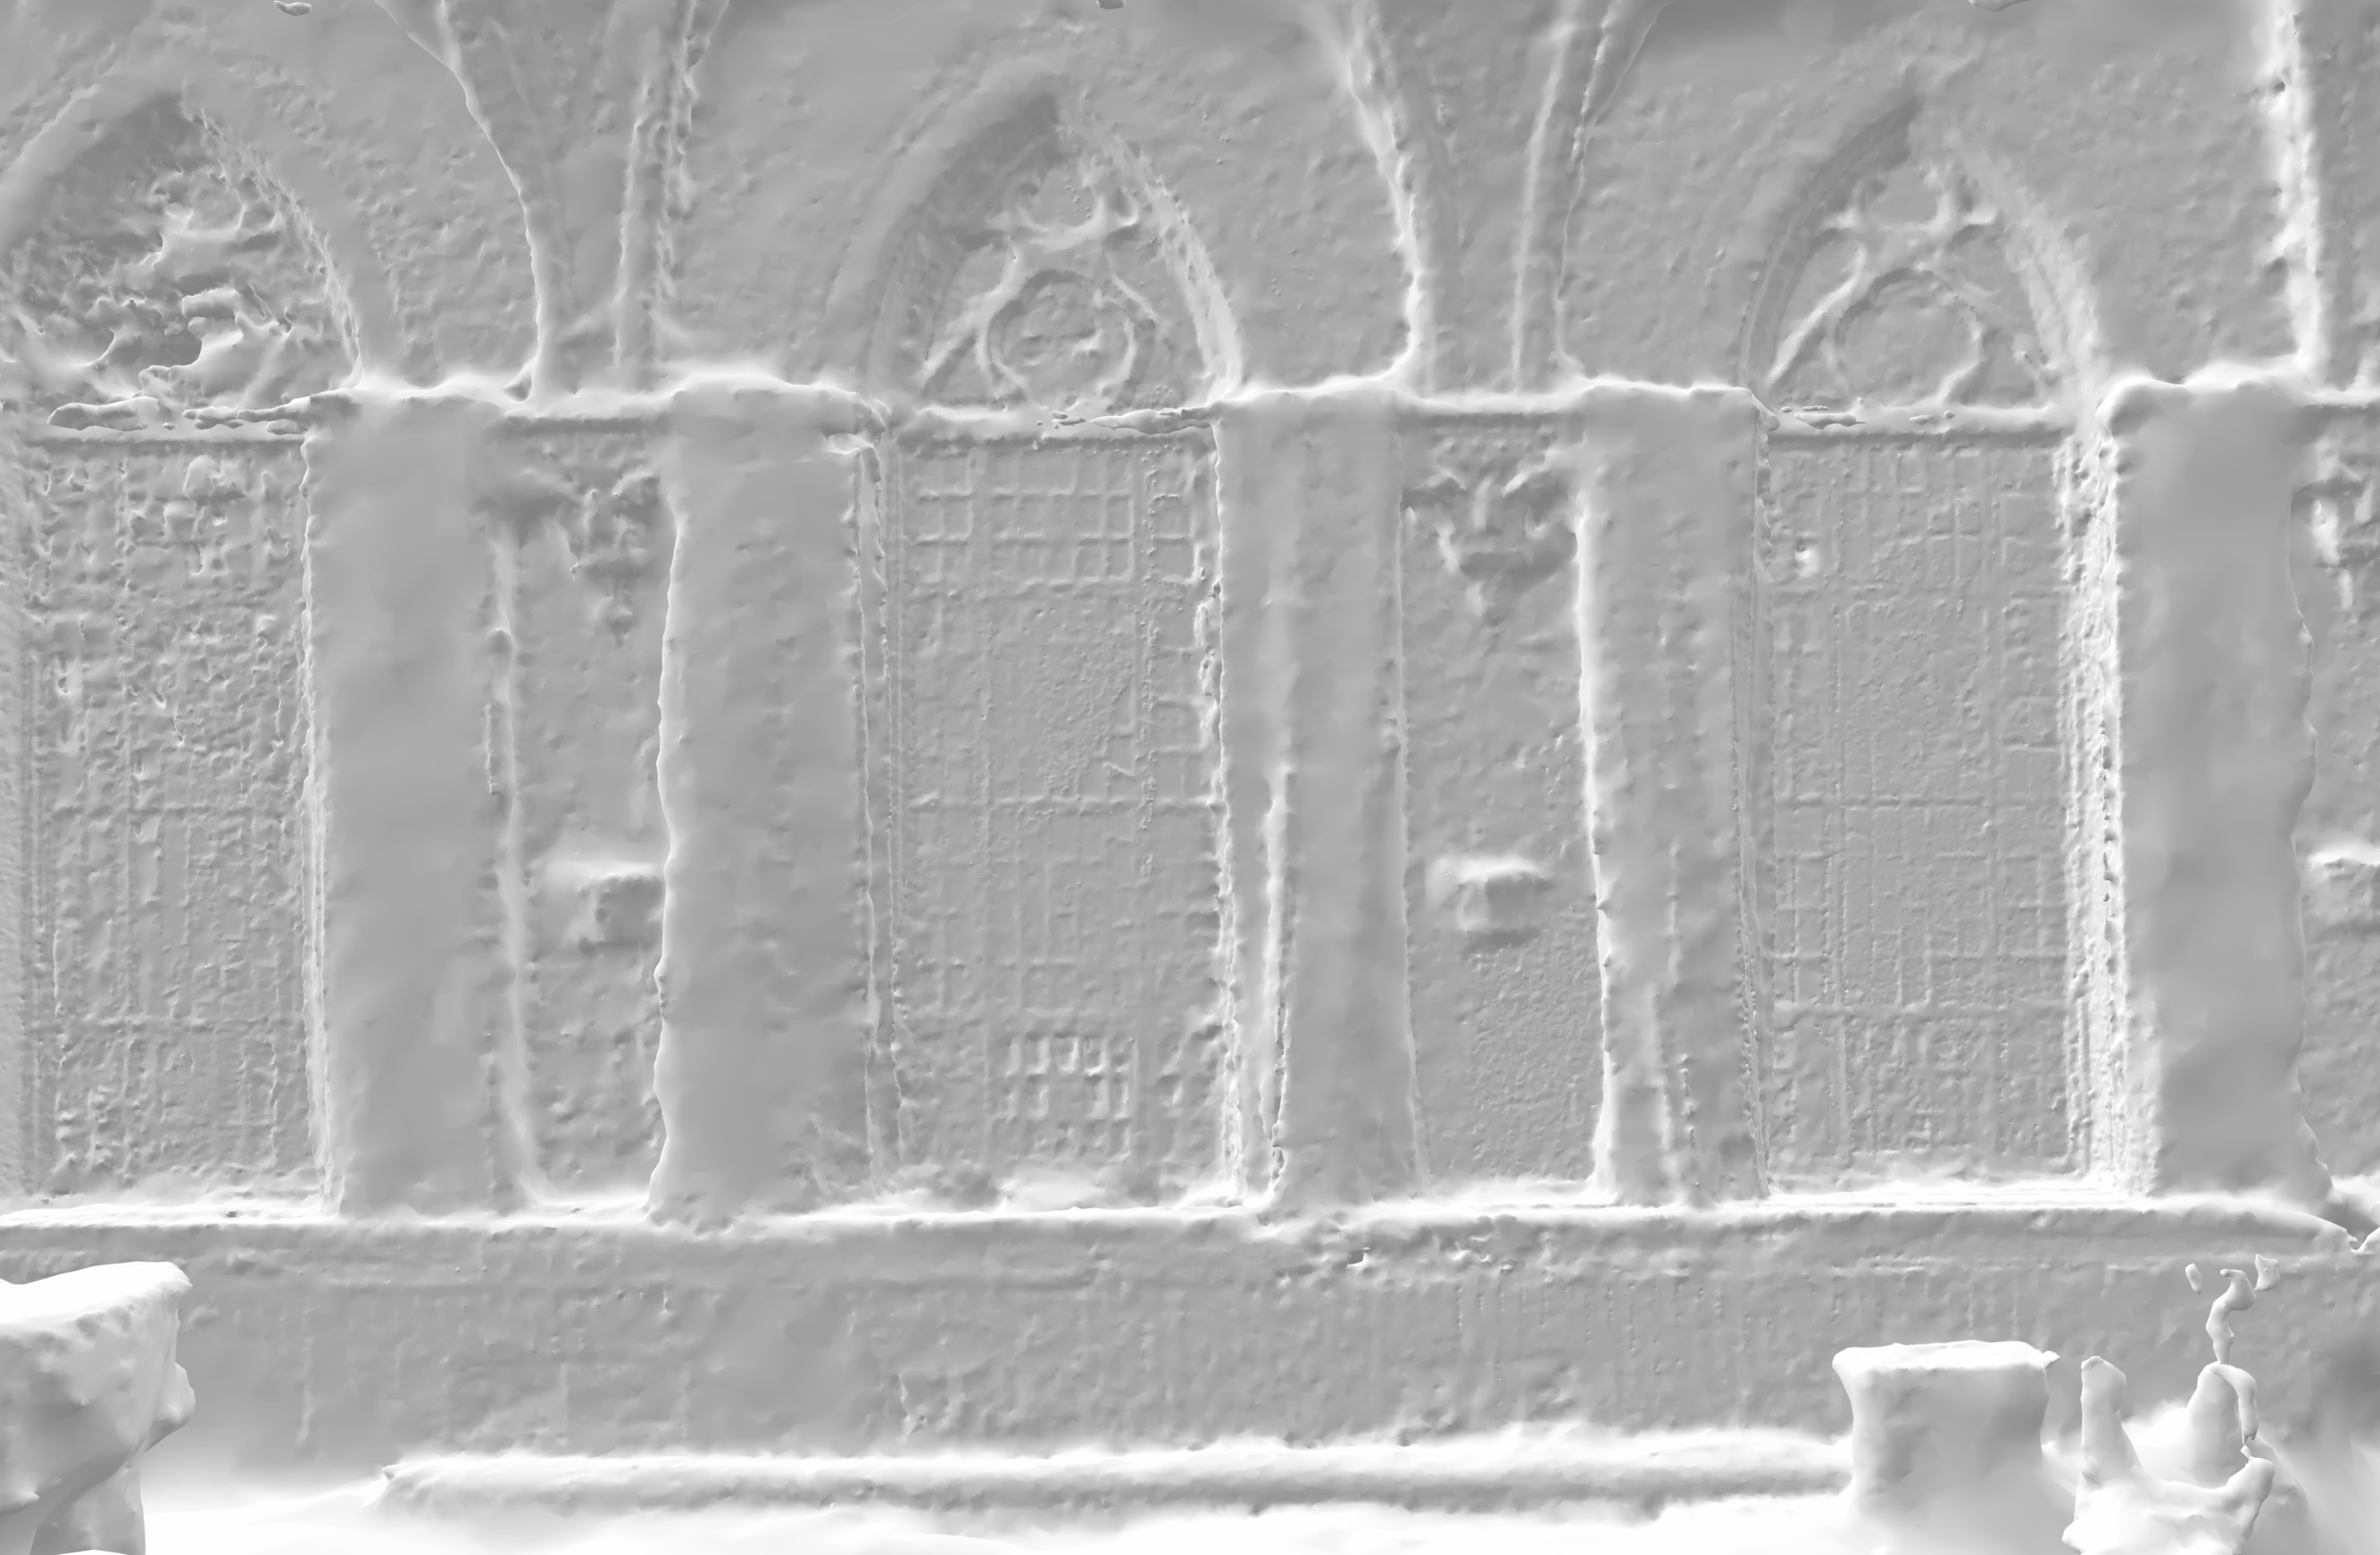


Based on that first scan and its’ issues, I’ve done a second one with several improvements. First, I took the photos on an overcast day, where there’s still plenty of ambient sunlight for the photos, but the windows themsleves aren’t too much brighter than the room. Second, I turned the lights on. The lights themselves are all focused on the stage area, but the set of front lights facing the wall from across the bounced pretty well off of the light, glossy floor, so I stuck with those and left everything else off. I also focused more specifically on the areas that were the 3D model came out rough, using more close-up shots and fewer far away shots.


I’m super happy with these results, but am also weighing a third pass using a DSLR for even more detail, and with attention on the few areas that still look blobby. The areas I focused on before (like the cornices and sconces between the curtains) have an incredible level of detail, but there are some areas (like the bottom ledges of the windows) that I didn’t take enough clear photos of.


After this, I have found a couple guides to follow on getting this into Unreal, and hope to give that a try over this coming week. I’d love to take advantage of the computers in MACD, but my Tuesday off looks like a 11”-14” snowstorm. I am looking forward to the snow, but I’m also not planning to leave my house, so I may just spend the time figuring out what I can get done on my laptop.
Also I’m already quite behind on these blog posts, but have some time set aside to catch up over the next couple weeks. Oklahoma! is open! It’s easily the largest and most complex lighting design that I’ve done to date. While all did not go smoothly in the lighting world, and getting to the finish line took just about all the time I could throw at it, it’s come out well and has been an intensive learning experience I can’t begin to quantify. It’ll be running for another week! I imagine I’ll have the good pictures from our photographer by the next blog post to throw in.